Dr.Fone User Guide for Data Recovery
Learn how to use Dr.Fone to recover deleted or lost data from iOS and Android devices. Download the latest version of Dr.Fone and get started now.
How To Recover Data from iOS Device?
Data recovery is a process that is quite essential for users who find it important to retrieve their important data before shifting to a new device. If it comes to a point where your data is inaccessible from a particular device directly, you will need a recovery service. Dr.Fone - Data Recovery (iOS) comes as an optimal solution to recover from iOS devices directly.
Recover Data From iOS Device Directly
Since you are seeking to recover from iTunes, the process of executing this entire thing is quite simple. You are just required to follow the steps provided next for effective data recovery.
You will have to initiate the process by launching Dr.Fone on your computer after its successful installation. Continue to Toolbox > Data Recovery to start the tool.

* Dr.Fone Mac version still has the old interface, but it does not affect the use of Dr.Fone function. We will update it as soon as possible.
Continue to select the option of iOS from the next screen, as you will be working on an iOS device for data recovery.
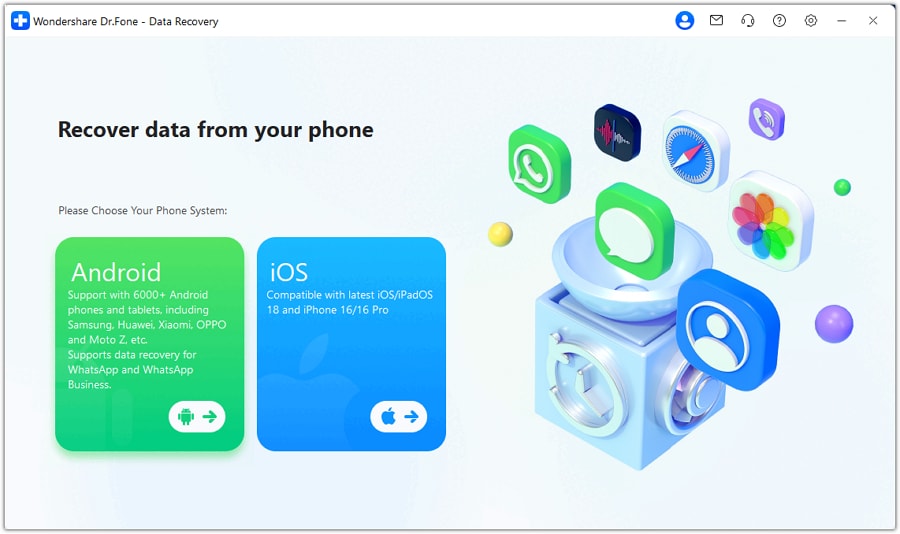
As you come to the next screen, select the option of Recover Data from an iOS device out of all the available options.

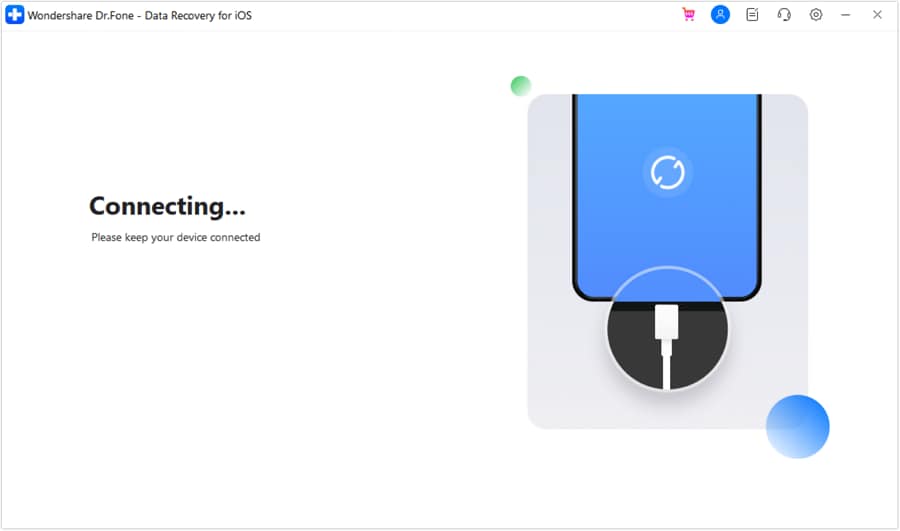
The next screen will prompt you to connect the iOS device to the computer. Attach the device with a USB cable and let the platform detect it for you.
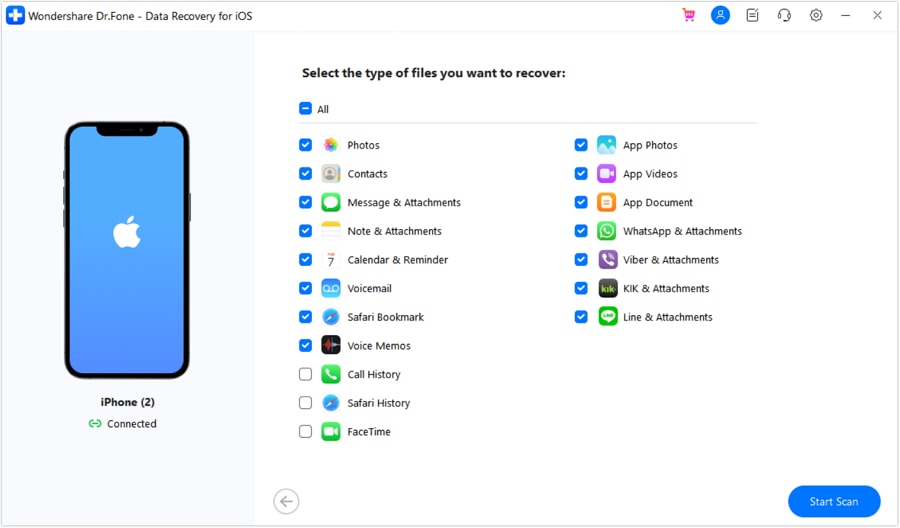
As the iDevice is detected, the next screen displays all the file types that can be recovered through the process. You can select any specific file types that you want or do not want to recover from the iDevice. Once done, click Start Scan on the bottom-right of the screen.
For the next window, you will be provided with a preview of all the data that is being recovered from the iOS device. Let the platform conclude the scanning of the iOS device, after which you can easily preview all the recovered data.
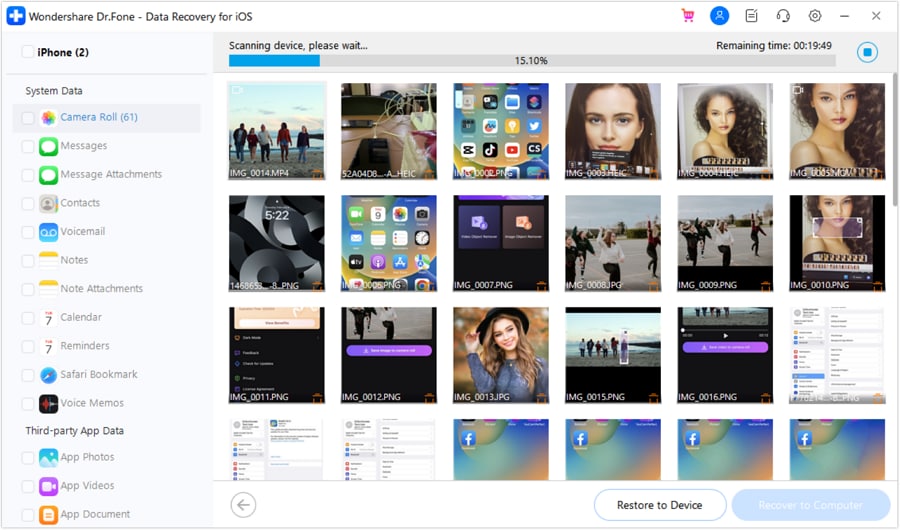
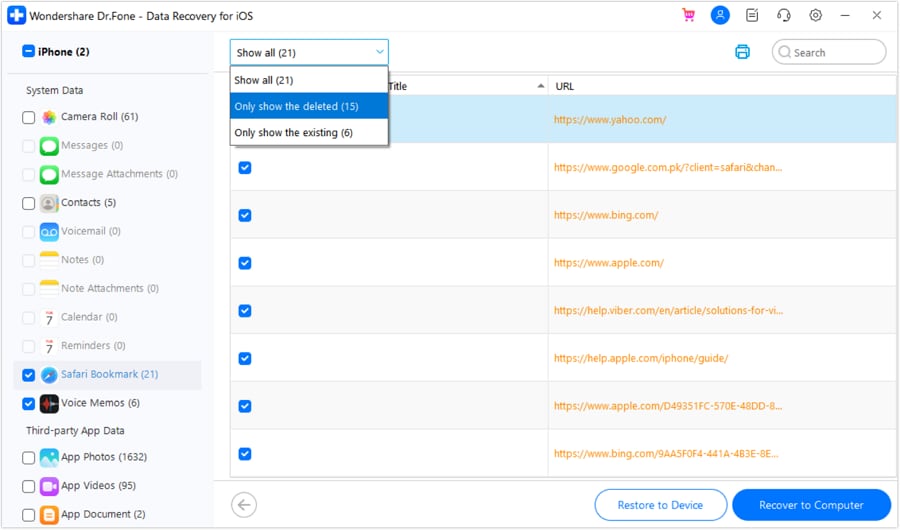
After the scanning concludes, you can select and preview any specific data that you want to recover. For filtering out the display results, select the tab on the top and define if you want to view all the data or the existing or deleted data. Following this, select the data you want to recover and continue to the Restore to Device button on the bottom.
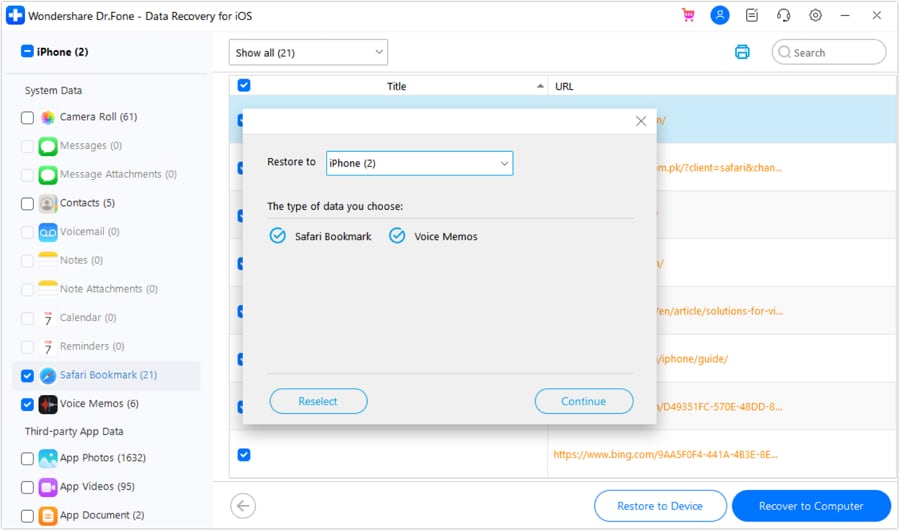
As you tap on the specific button, a window appears asking you to select the iDevice where you want to restore the data. Select the device and view which data is recoverable. Proceed by clicking the Continue button.
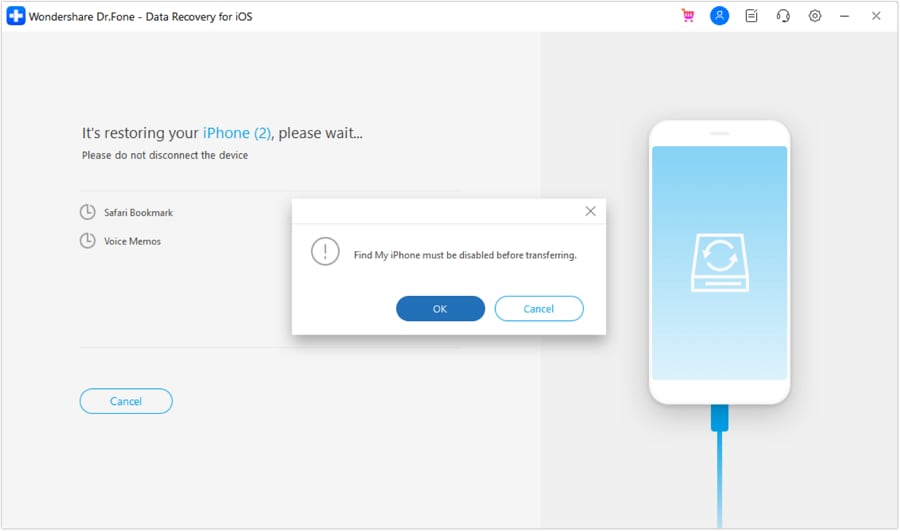
You will have to disable the Find My service on your iDevice to restore the data to the device. Once you have disabled it from your iDevice, continue to click OK on the computer.
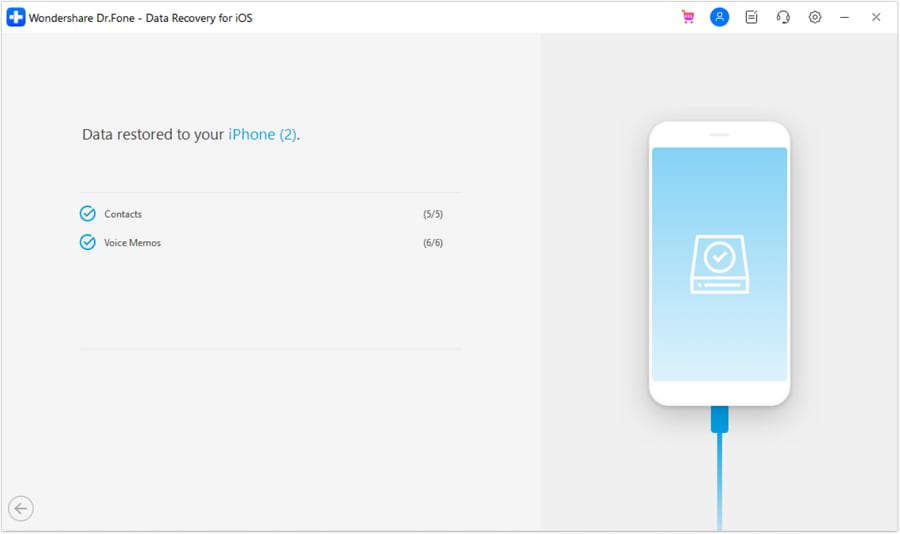
The data will be successfully restored and prompted on the screen.
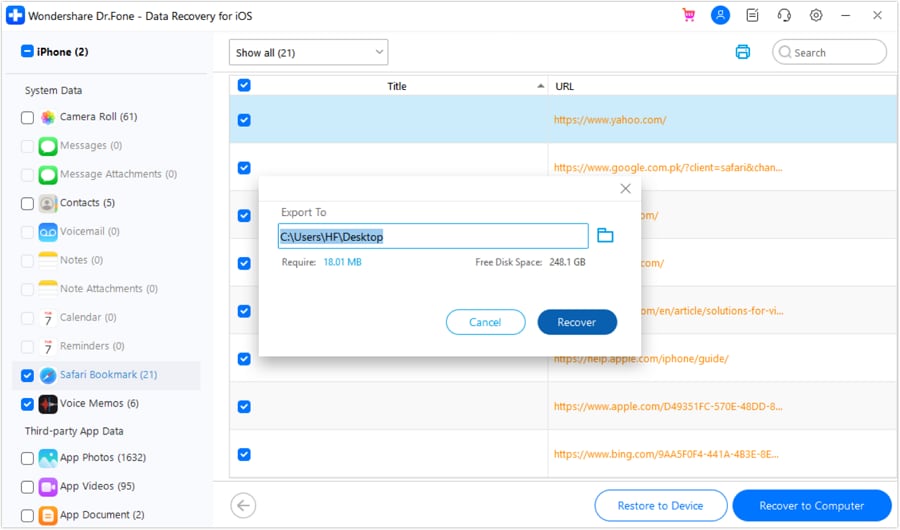
If you wish to recover the data back into the computer, select the required data and click Recover to Computer. A prompt appears asking to set a location for the device. Define the location and click Recover to execute the process.
WHAT YOU'LL NEED

Dr.Fone provides a complete set of tools for solving all iOS/Android phone problems.
Need help?
You might find the answer to your question in the FAQ or additional information below: